


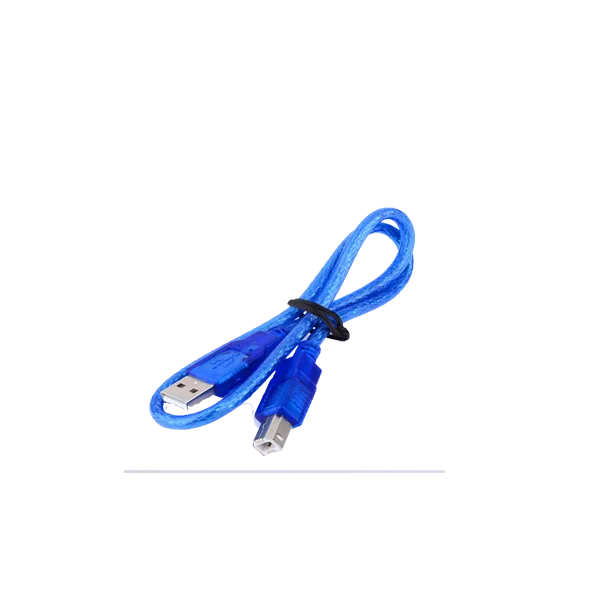

Arduino Nano With the bootloader compatible Nano 3.0 controller for arduino CH340with USB driver 16Mhz Nano v3.0 ATMEGA328P/168P + Cable
The Arduino Nano is a compact and powerful microcontroller board based on the ATmega328P. Because of its small size and full functionality, it’s perfect for breadboard-based projects and embedded systems. And since this package includes a USB cable, you can connect and program it immediately — no additional accessories required.
Key Features:
-
Microcontroller: ATmega328P (same as Arduino UNO)
-
Mini USB Port: Easy connection with included cable
-
Operating Voltage: 5V (regulated via onboard circuit)
-
Clock Speed: 16 MHz for stable and fast performance
-
Memory:
-
32KB Flash (for storing code)
-
2KB SRAM
-
1KB EEPROM
-
-
I/O Pins:
-
14 Digital I/O pins (6 PWM outputs)
-
8 Analog input pins
-
-
Dimensions: ~45 x 18 mm – compact for embedded projects
Why Choose Arduino Nano?
-
It’s small, lightweight, and breadboard-friendly.
-
Ideal for wearables, robotics, sensor systems, and more.
-
Works seamlessly with the Arduino IDE.
-
Because it uses the same chip as the Arduino UNO, it’s fully compatible with most UNO code and libraries.
-
You get both the board and USB cable, so you’re ready to program right out of the box.
How to Use It:
-
Connect via USB to your computer using the included cable.
-
Install the CH340 driver (if required, depending on your Nano version).
-
Open Arduino IDE and select:
-
Board: “Arduino Nano”
-
Processor: “ATmega328P” (or “ATmega328P (Old Bootloader)” if needed)
-
-
Choose the correct Port and click Upload to load your code.
How to Get Started with Arduino Nano (with USB Cable)
Getting started with the Arduino Nano is simple and quick — especially because it comes with a USB cable, so you can jump right in. Follow these steps to set it up and upload your first project.
Step 1: Install the Arduino IDE
First, download and install the Arduino IDE from the official Arduino website.
This software allows you to write code and upload it to the Nano board.
Step 2: Connect the Arduino Nano to Your PC
-
Use the included Mini USB cable to plug the Arduino Nano into your computer.
-
If it doesn’t get recognized, you may need to install the CH340 driver (common with many Nano clones).
👉 Search: “CH340 driver download” or ask and I can give you a direct link.
Step 3: Configure the Arduino IDE
Now, open the Arduino IDE and go to:
-
Tools > Board > Arduino Nano
-
Tools > Processor > ATmega328P
(Try “ATmega328P (Old Bootloader)” if uploading fails.) -
Tools > Port – Select the correct COM port (usually appears after plugging in your Nano)
Step 4: Upload a Test Sketch (Like Blink)
To verify everything is working, upload a simple “Blink” program:
-
Click the Upload button (right arrow icon).
-
If successful, the built-in LED on the Nano (pin 13) will start blinking.
Step 5: Start Building Projects
After that, you’re ready to:
-
Try mini projects like:
-
Temperature reader (with a DHT11 sensor)
-
Light-sensitive night lamp (using LDR)
-
Mini robot or servo control
-
Traffic light system
-
-
You can use a breadboard for easy prototyping since the Nano fits right in.
Tips for Beginners:
-
Use 5V sensors for direct compatibility.
-
Add jumper wires and a breadboard to expand your circuit.
-
Save and comment your code often, because it helps you learn faster.
-
Follow tutorials from the Arduino Project Hub or ask me for ideas!
if you want to start working on it this video can be helpful for you
Packaging Include with:
Arduino Nano x 1
One USB Cable

There are no reviews yet.