

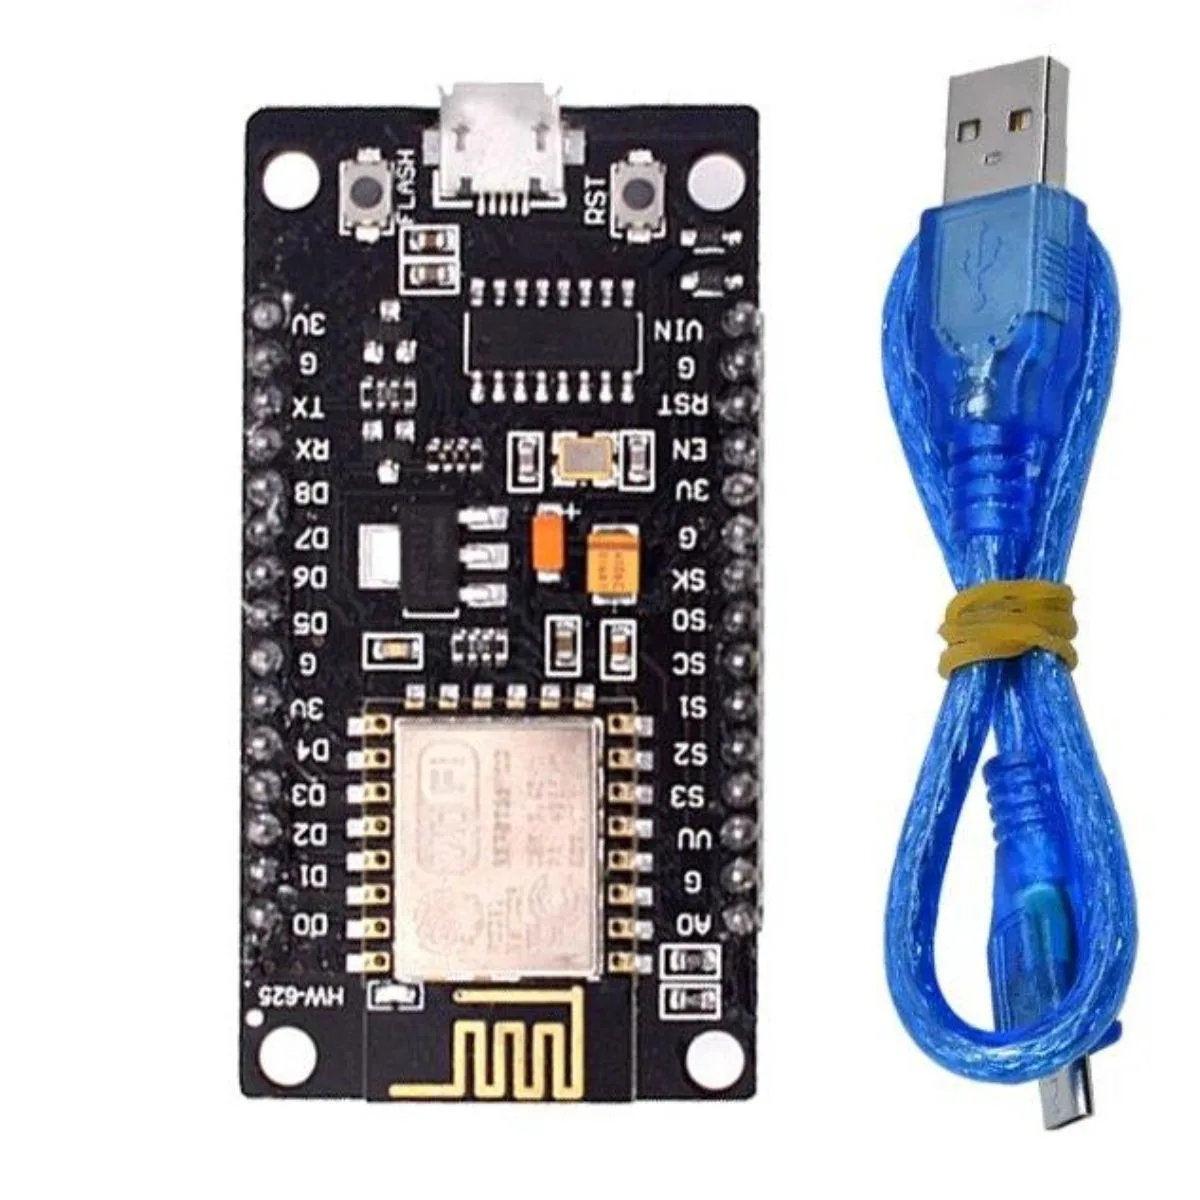

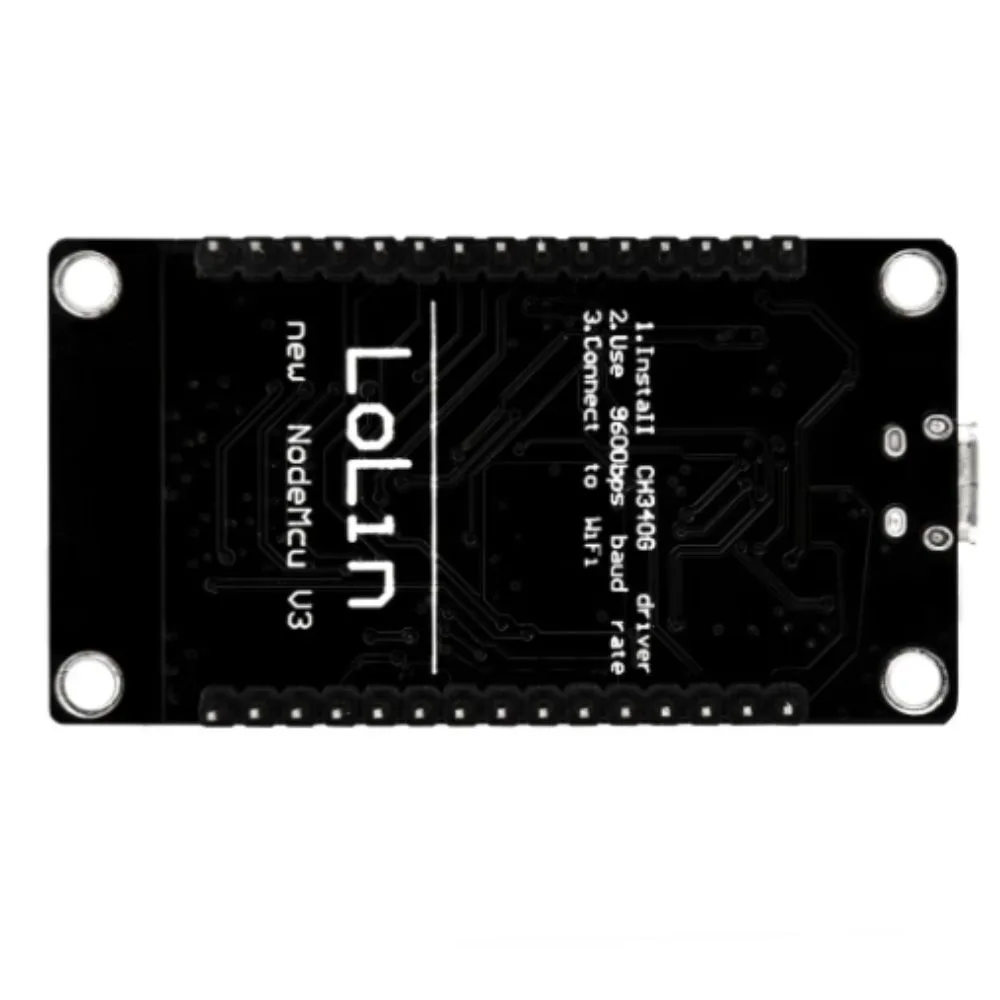
The ESP8266 is a low-cost, Wi-Fi-enabled microcontroller chip that’s perfect for IoT (Internet of Things) projects. It lets your devices connect to the internet wirelessly, so you can create smart systems like home automation, remote sensors, and more.
Because it combines microcontroller functions and Wi-Fi capability in a small package, it’s one of the most popular modules for DIY electronics and embedded applications.
Features of ESP8266 (NodeMCU Version)
-
Built-in Wi-Fi (802.11 b/g/n)
-
Operates at 3.3V
-
80 MHz processor, up to 160 MHz
-
Flash memory: 4MB (typical)
-
Multiple GPIO pins (digital I/O, PWM, I2C, SPI, etc.)
-
Programmable via Arduino IDE, MicroPython, or Lua
-
Can act as both a client and an access point
How to Get Started with ESP8266 (NodeMCU)
1. Install the Arduino IDE
Download from arduino.cc
2. Add ESP8266 Board Support
In the Arduino IDE:
-
Go to File > Preferences
-
In “Additional Board URLs,” paste:
-
Then go to Tools > Board > Boards Manager
-
Search for “ESP8266” and click Install
3. Connect ESP8266 to PC via USB
Use a standard micro USB cable. The board should power on, and a COM port will appear in the IDE.
4. Select the Board in Arduino IDE
-
Tools > Board > “NodeMCU 1.0 (ESP-12E Module)”
-
Select correct Port (under Tools > Port)
5. Upload a Test Sketch (Blink Example)
Click Upload — and if everything is working, the onboard LED will blink.
What Can You Build with ESP8266?
-
IoT Wi-Fi Data Logger
-
Mobile-Controlled Light Switch (via web server)
-
Weather Monitor (using online APIs)
-
Smart Home Automation
-
RFID Door Lock with Cloud Logging
-
MQTT Sensor Networks
Optional Accessories for ESP8266 Projects
-
Sensors: DHT11/DHT22, PIR, IR, Soil Moisture
-
Actuators: Relays, Servos, Motors
-
OLED Display (I2C)
-
Breadboard + Jumper Wires
-
Power Supply (5V USB or battery with 3.3V regulator)
FEATURES:
- Communication interface voltage: 3.3V.
- Antenna type: Built-in PCB antenna is available.
- Wireless 802.11 b/g/n standard
- WiFi at 2.4GHz, support WPA / WPA2 security mode
- Support STA/AP/STA + AP three operating modes
- Built-in TCP/IP protocol stack to support multiple TCP Client connections (5 MAX)
- D0 ~ D8, SD1 ~ SD3: used as GPIO, PWM, IIC, etc., port driver capability 15mA
- AD0: 1 channel ADC
- Power input: 4.5V ~ 9V (10VMAX), USB-powered
- Current: continuous transmission: ?70mA (200mA MAX), Standby: <200uA
- Transfer rate: 110-460800bps
- Support UART / GPIO data communication interface
- Remote firmware upgrade (OTA)
- Flash size: 4MByte


There are no reviews yet.