


A 36-egg plastic incubator is a compact incubator designed to handle about 36 chicken-sized eggs (or fewer if eggs are larger). These units are a good size for hobbyists, educators, or small flock breeders. They often feature a plastic (ABS or other) body, automatic egg turning, temperature and humidity control, and a transparent lid or window so you can monitor the eggs. For example, one model lists “36 chicken eggs, 25 duck eggs, 12 goose eggs, 56 pigeon eggs, 70 quail eggs” capacity.
Because they’re smaller than the large hatchery units (100+ eggs), they are more affordable, take up less space, use less power, and are often simpler to operate — making them ideal for beginners or smaller operations.
Key Features
Here are typical features for a 36-egg plastic incubator:
-
Automatic egg turning: The incubator will turn (tilt or rotate) the eggs at set intervals (for instance every ~2 hours) until the lockdown/hatching phase. This ensures the embryo develops evenly and doesn’t stick to the shell.
-
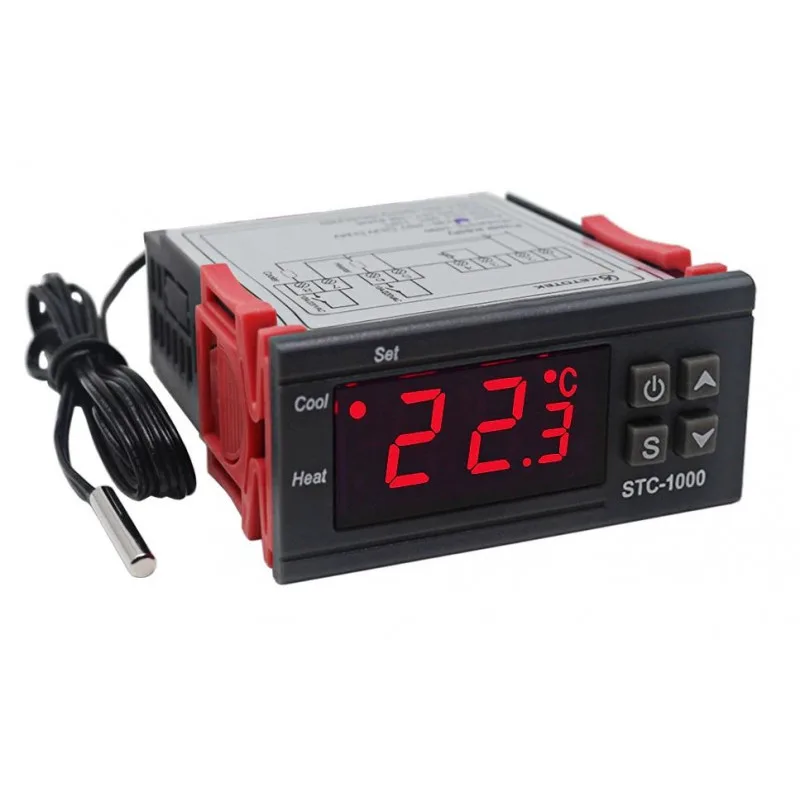
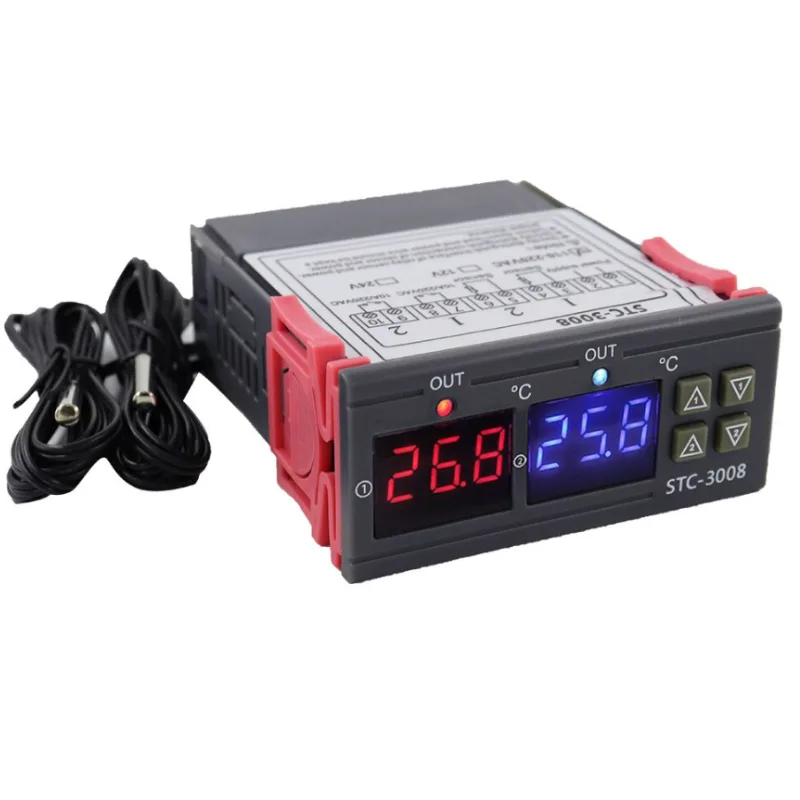
Digital temperature control and display: You’ll find a thermostat/thermometer built in, often with digital readout of current temp, setpoint, sometimes alarms for too low/high. Example spec: “control temperature accuracy: ±0.5 °C” for one model.
-
Humidity control / monitoring: Since humidity is critical for proper incubation and hatching, good models provide a humidity display, water reservoir or slots to add water from outside, and allow you to adjust or maintain humidity.
-
Plastic body / protective cover: Many models use ABS or similar plastic for the body (for insulation, durability, cost) and have a transparent lid or window so you can watch the eggs without opening the incubator (which would disturb conditions). For example: “High Grade Plastic Body … Transparent cover … made of high-quality plastic.”
-
Fan or air circulation: To maintain uniform temperature and humidity distribution across the egg tray, a fan or circulation mechanism is often included.
-
Multi-size egg compatibility: Some trays are adjustable or designed to hold different sizes of eggs (chicken, duck, quail) by removing or replacing inserts or changing the tray.
-
Compact size / moderate power consumption: Because capacity is smaller, power use is lower compared to larger units, making them more practical in settings with limited resources. For example, one model: size ~53 × 17 × 48.5 cm and power < 80 W.
Typical Specifications (Representative)
Below are sample specs you might expect for a 36-egg plastic incubator — verify each model’s exact numbers.
-
Capacity: ~ 36 chicken eggs (or equivalent by size)
-
Egg types: Many models will list for chicken, duck, goose, quail eggs (with smaller capacity for bigger eggs)
-
Dimensions: Example: 53 × 17 × 48.5 cm (gross size)
-
Material: Plastic body (ABS or PC) for shell; tray often plastic too. Example: “Material: Acrylonitrile Butadiene Styrene (ABS)”
-
Power: Example: ≤ 70 W for one model.
-
Voltage: Usually accommodates standard mains (110 V or 220–240 V) depending on region. Example: 220 V/110 V for one Chinese model.
-
Control accuracy: Example: ±0.5 °C for temperature in one model.
-
Features: Transparent lid / window; external water fill slots for humidity; automatic turning; built-in fan.
Applications
Here are common uses for a 36-egg incubator:
-
For hobby poultry keepers who have a small flock and want to hatch their own chicks.
-
Educational use in schools, agricultural colleges or training centres to demonstrate embryo development, incubation, hatching.
-
Small-scale farms or backyard setups in emerging market contexts (where you may want modest throughput rather than large hatchery size).
-
For breeding programs of speciality birds (chickens, ducks, quail) where 36 eggs per batch is manageable.
-
As a “starter unit” before scaling up to larger incubators (and learning incubation/hatch techniques).
Tips & Best Practices
To get the best out of your 36-egg plastic incubator, follow these suggestions:
-
Pre-warm the unit: Before placing eggs, run the incubator for several hours to ensure that temperature and humidity are stable and all systems (fan, turning) work properly.
-
Check ambient environment: Place your incubator in a room with stable ambient temperature (not too cold/hot) and minimal drafts. The less external fluctuation, the easier the machine can maintain optimum conditions.
-
Accuracy check of sensors: If possible, use an independent thermometer/hygrometer to verify that the built-in display is accurate. A calibration error can affect hatch rates.
-
Correct tray loading: Do not over-load the tray or mix egg sizes too wildly unless the model supports it. Eggs should be spaced so air circulation is good.
-
Turn until lockdown: Automatic turning is beneficial for embryo development, but typically turning should stop 1–2 days before hatching (“lockdown phase”) so the chicks can orient for pipping. Check your model’s instructions.
-
Manage humidity especially at hatching: In the hatching phase, humidity often needs to be higher to allow the chick to break out easily. Make sure your water channels/slots are filled appropriately and the machine doesn’t dry out.
-
Minimise opening the lid: Each time you open the incubator, temperature and humidity drop and air circulation changes — this can stress embryos. Use the viewing window if available.
-
Clean between batches: After hatching, remove debris, shell fragments, clean the tray & base, disinfect if possible (compatible with the plastic body) to reduce risk of contamination for the next batch.
-
Power reliability: Especially in places with inconsistent power, think about backup power, or placing the incubator such that minor fluctuations don’t drastically affect results.
-
Record your results: Keep track of hatch rates, any failures, egg sizes, storage times before incubation — over time, you’ll learn what works best for your bird strain and environment.

There are no reviews yet.