

-
OUT OF STOCK!AgriTech & Smart Farming, Egg incubators, Incubators and Hatchery Equipment
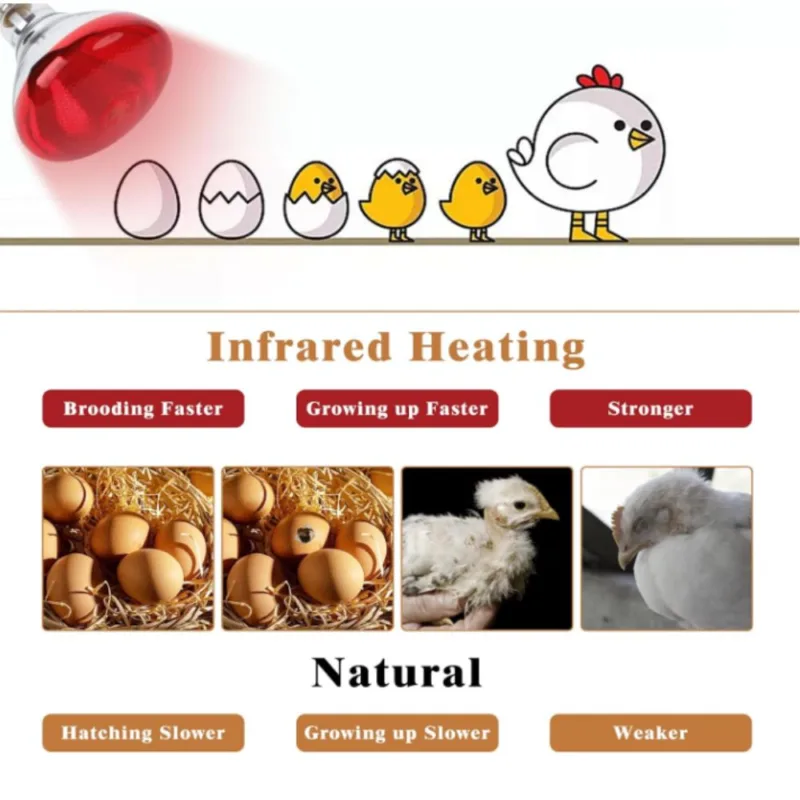
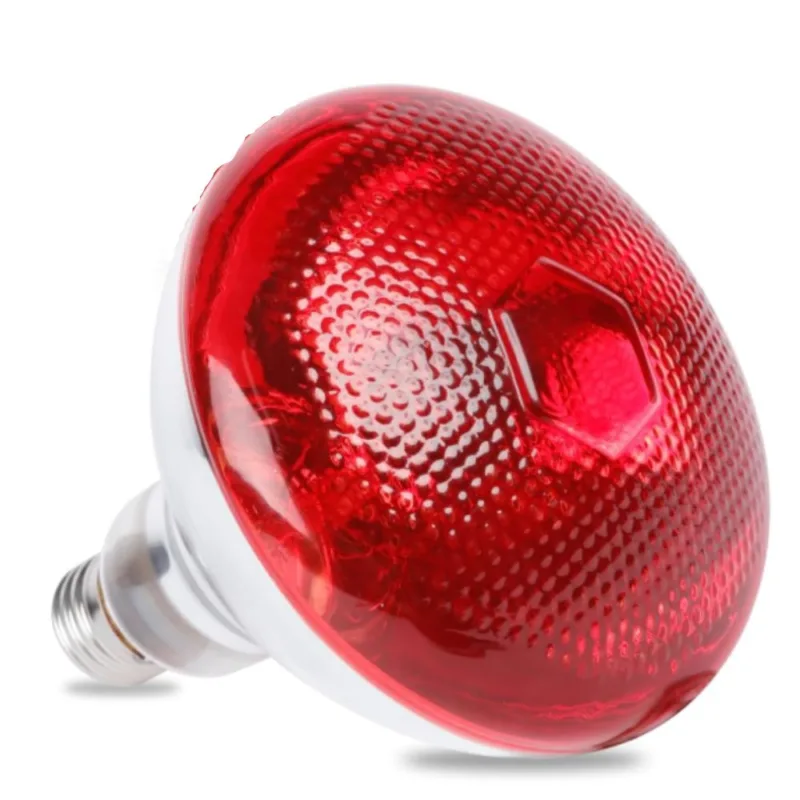
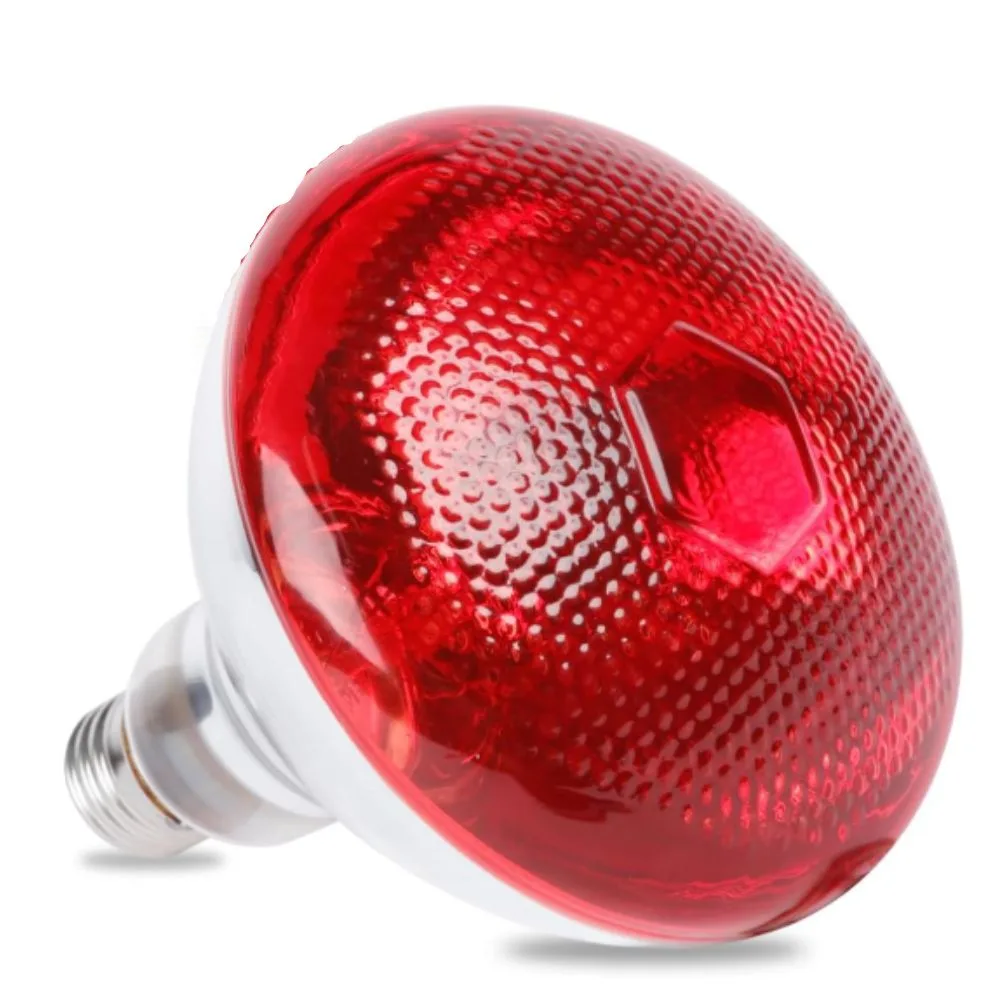
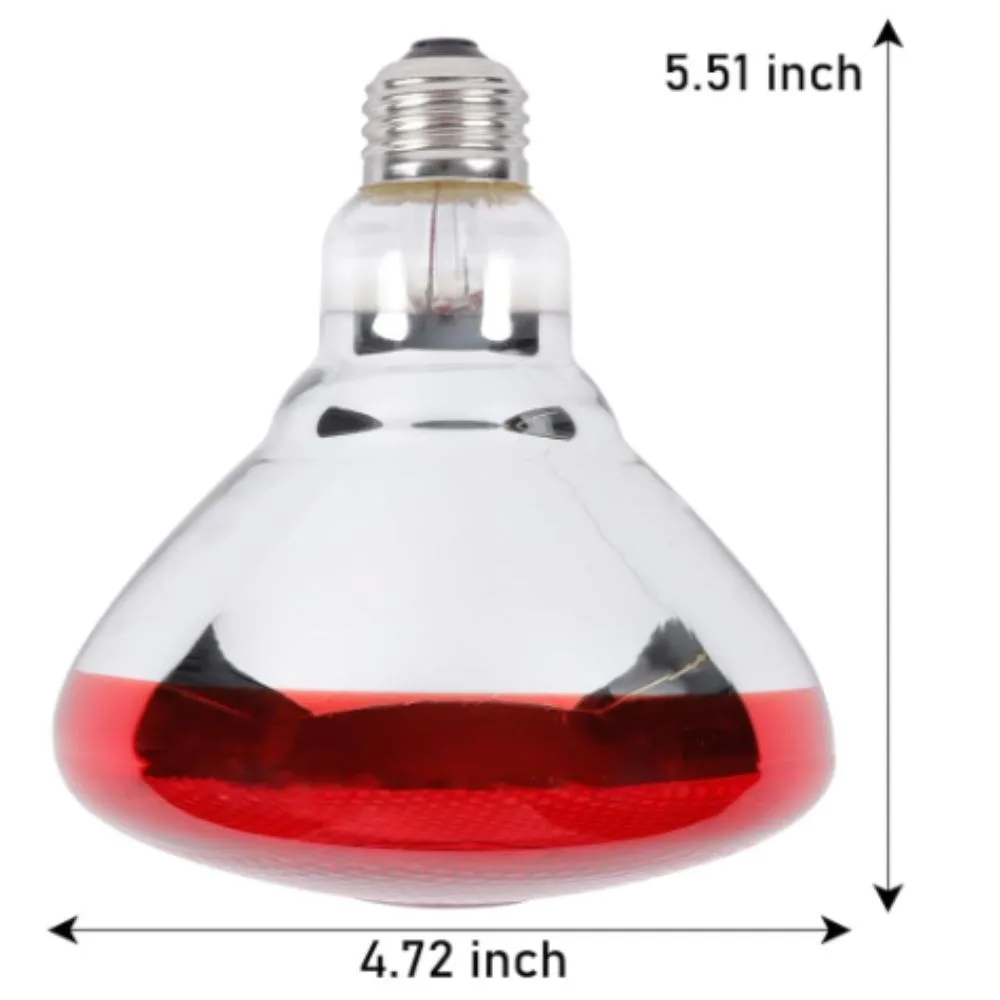
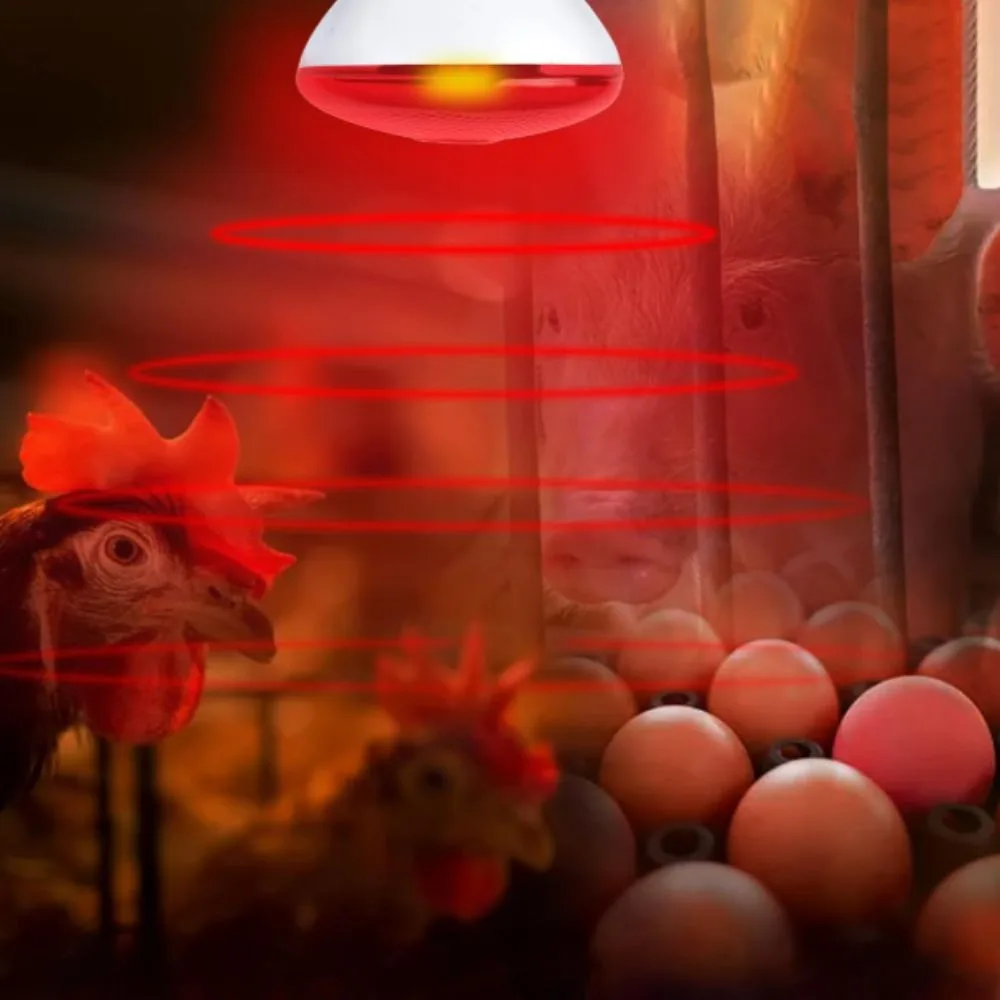
Red Heat Lamp Bulb 100W for Pets, Chickens, and Reptiles
 AgriTech & Smart Farming, Egg incubators, Incubators and Hatchery Equipment
Red Heat Lamp Bulb 100W for Pets, Chickens, and Reptiles
The 100W Red Heat Lamp Bulb is a specialized infrared heat source designed to provide warmth for animals, poultry, and reptiles. Its infrared radiation effectively warms up objects and living beings without emitting excessive visible light, making it ideal for nighttime use or enclosed environments where consistent heat is essential.
SKU: n/a -
Egg incubators, Environmental Sensors, Incubators and Hatchery Equipment, Temperature & Humidity Sensors, Temperature and humidity sensors
AC 220V STC-3028 Digital Temperature Controller STC3028
Egg incubators, Environmental Sensors, Incubators and Hatchery Equipment, Temperature & Humidity Sensors, Temperature and humidity sensorsAC 220V STC-3028 Digital Temperature Controller STC3028
Be able to connect with humidifier and dehumidifier equipment at the same time.
Be able to connect with refrigeration/ heating and humidifier/dehumidifier equipment at the same time.
Heating/Cooling function could be set separately for refrigeration and heating to protect temperature controller from violent change. Same as humidity Control.
Supporting Temp and Humidity Calibration
Dual Display Window,Be able to display measured temperature/humidity and set temp/humidity at the same time
SKU: n/a
-11%




Related products
-
AgriTech & Smart Farming, Egg incubators, Incubators and Hatchery Equipment
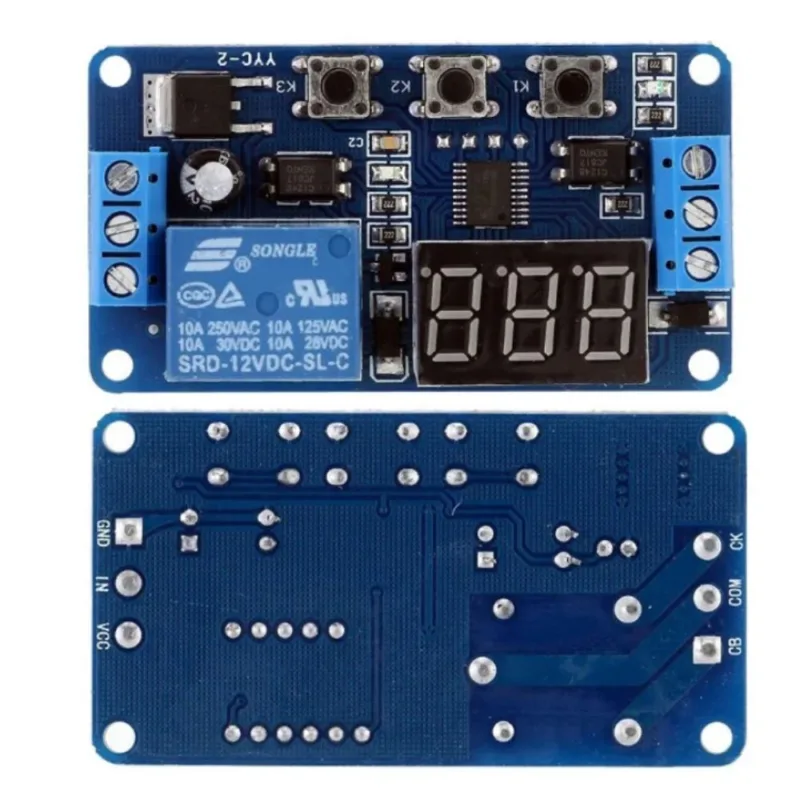
DC 12V LED Digital Delay Timer Relay Module( With 3 buttons )
AgriTech & Smart Farming, Egg incubators, Incubators and Hatchery EquipmentDC 12V LED Digital Delay Timer Relay Module( With 3 buttons )
This is a digital relay timer switch module with an onboard LED display and microcontroller. It allows precise timing control for switching devices on or off after a set delay. Widely used in DIY electronics, automation, smart home systems, lighting control, and more.
SKU: n/a
Related products
Related products
-
AgriTech & Smart Farming, Environmental Sensors, NPK, 7 in 1, & other sensors, pH and nutrient testers, Sensors, Soil and Environment Sensors, Soil moisture sensors, Temperature and humidity sensors
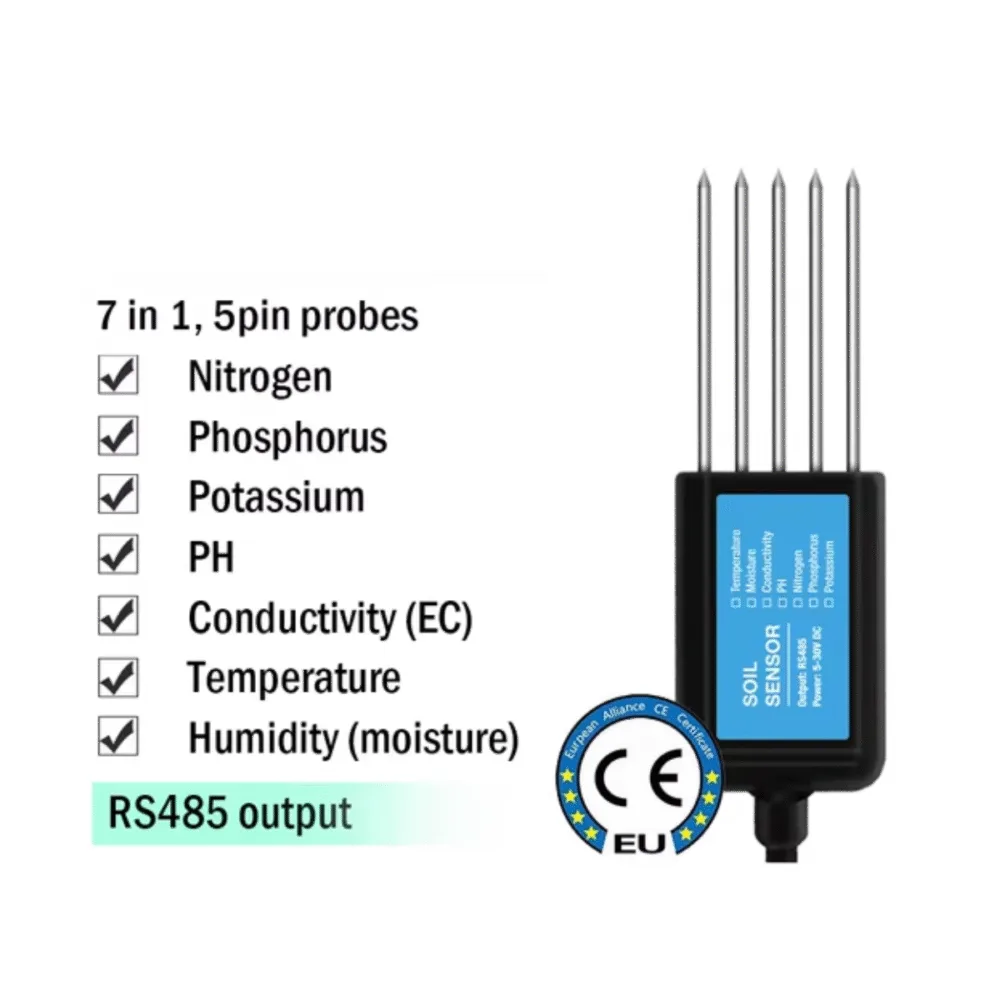
7 in 1 soil sensor NPK, PH, Conductivity, Temperature and Humidity
AgriTech & Smart Farming, Environmental Sensors, NPK, 7 in 1, & other sensors, pH and nutrient testers, Sensors, Soil and Environment Sensors, Soil moisture sensors, Temperature and humidity sensors7 in 1 soil sensor NPK, PH, Conductivity, Temperature and Humidity
Our soil sensors are used for soil npk, ph, ec, temperature and humidity measurement with high accuracy, fast response speed and stable output. Long-term buried in the soil, resistant to long-term electrolysis, corrosion resistance, vacuum potting, completely waterproof.
SKU: n/a
There are no reviews yet.